
 English
  Vietnamese
  Korean
  Japanese
  Thai
Thai  Malay
Malay Installing a vibratory bowl feeder is not simply a matter of placing the machine down and plugging it in. Incorrect installation can lead to problems such as: loud noise but no operation, excessive vibration causing spring damage, or unstable workpiece output.
This article SWOER We will guide you step-by-step through the installation and adjustment process to ensure the machine operates smoothly and achieves maximum efficiency right from the first use.
Preparation before installation
Don't rush! Good preparation will save you a lot of time correcting mistakes later.
- Machine placement: It must be a solid, flat surface (thick steel table or concrete floor). Avoid locations where vibrations may be amplified by nearby large machinery.
- Check the accessories: Make sure you have all the necessary components: drivetrain, hub, control unit, and rubber damping feet.
- Tool: Hex wrench set, spanner, spirit level (Levo), and multimeter.

Standard 5-step installation process
Step 1: Secure the base unit.
Place the base of the machine in the chosen position. Ensure that the four rubber shock-absorbing feet are evenly positioned and not uneven.
Note: The base of the machine should not be bolted rigidly to the floor unless specifically instructed to do so, as the rubber feet need space to dampen excess vibration.
Step 2: Install the wheel bowl.
Place the wheel hub on top of the drive unit. Align the center screw hole with the base. Tighten the center bolt to connect the two parts into a single unit.
Step 3: Connect the controller.
Connect the wires from the magnetic inductor to the controller.
- Warning: Carefully check the power supply voltage (220V or 110V) indicated on the machine's label. Plugging it into the wrong voltage will immediately burn out the coil!
Step 4: Adjust the magnet gap
Use a feeler gauge to check the gap between the electromagnet and the armature. The standard gap is usually within this range. 0.5mm – 1.2mm.
- If the gap is too narrow: The magnets will collide, causing a loud, jarring noise.
- If the gap is too wide: The vibration force will be very weak.
Step 5: Balance the output.
Use a Levo level to ensure the chuck is not tilted. Then, connect the output to a linear feeder or workpiece receiving conveyor.
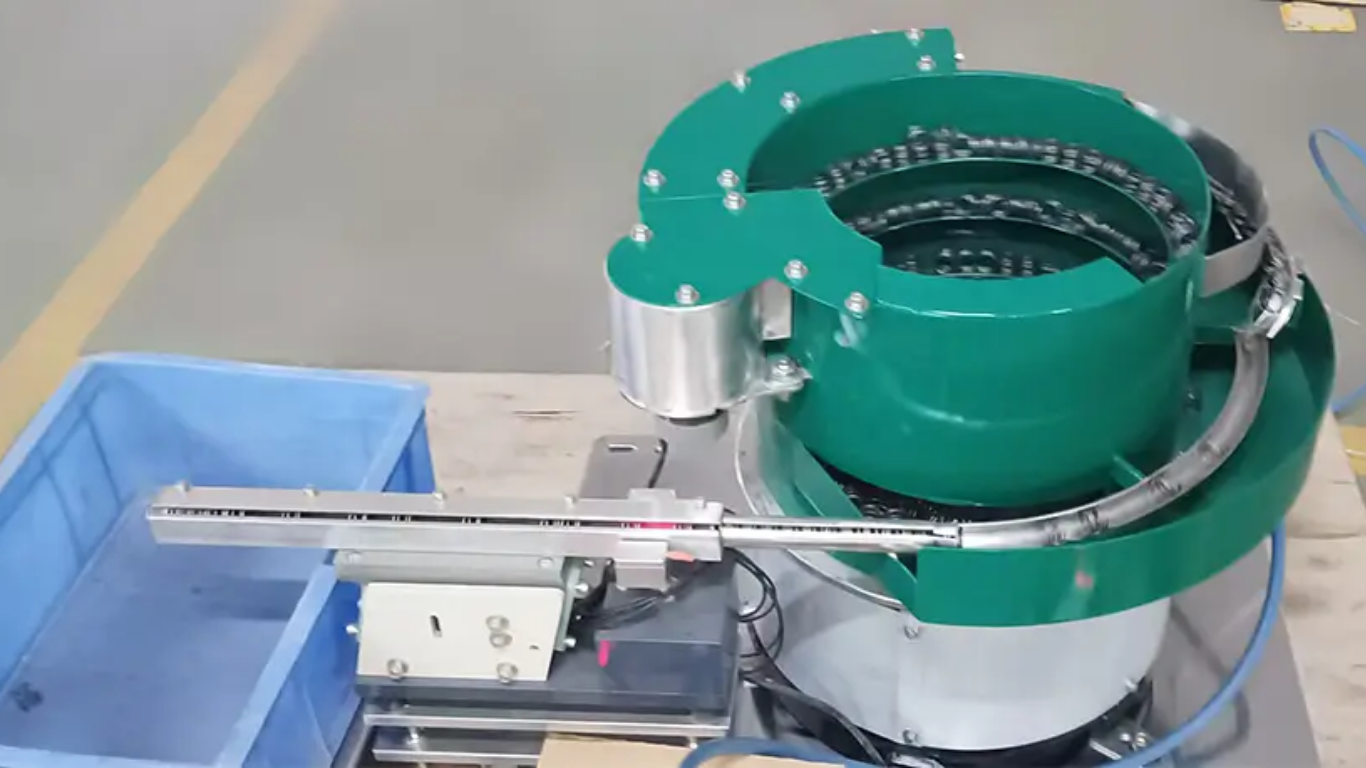
How to adjust leaf springs for optimal speed.
The leaf spring is the "heart" of the turntable. If the machine is running slowly, you can try this:
- Tighten the spring screws: Loose screws are the cause of the 90% losing vibration power.
- Add or remove spring leaves: This allows for adjusting the oscillation frequency to match the actual weight of the workpiece.
- Tip: Try slightly loosening one of the spring screws while the machine is running. If the machine runs faster, it means the spring is too stiff (you need to remove some leaves), and vice versa.

Common errors and how to fix them
| Common errors | Reason | How to handle it |
| The machine is making a lot of noise, but the workpiece isn't moving. | The wheel bolts are loose or touching a magnet. | Tighten the center bolt and adjust the clearance. |
| The embryo moves backward or jumps forward. | The wheel rim is unbalanced or the spring is cracked. | Adjust the spirit level, replace the leaf springs. |
| The controller is not turning on the lights. | Blown fuse or damaged power cord | Check the fuses and replace them. |
Safety and hygiene notes
- Regular cleaning: Clean any dirt and grease from the inside of the turntable with alcohol. A dirty surface will reduce friction, causing the workpiece to move slowly.
- Do not make adjustments while the machine is running: Always disconnect the power before tightening spring screws or interfering with the drive mechanism.
Conclude:
Proper installation of the vibrating screen not only ensures a stable production line but also significantly extends the equipment's lifespan. Hopefully, the above instructions will be helpful to you during machine operation.
👉 Are you still having trouble with installation or the vibrating plate isn't reaching the desired speed?
Don't hesitate, contact us now! SWOER Vietnam's technical team. We are always ready to provide support via video call or on-site assistance to help you optimize your system completely free of charge!
Contact us
Please let us know your material size and required speed.